This exercise is driven by a need to connect my MythTV’s 3 HDHomeRun network tuners to my MythTV server. This is filled with various challenges:My
- MythTV runs in a VM on a VMware ESXi 6.0 server
- The ESXi server only has one network adaptor, NIC.
- Experience has shown that the HDHomeRuns are more reliable on their own isolated network so should not be on the LAN and should not have internet access.
- HDHomeRuns cannot be assigned a static IP and must have a DHCP server on their subnet
- My MythTV server stores the video files on 2 Samba/SMB attached NAS devices. So good fast connectivity from MythTV to the NAS boxes is very important.
High level solution
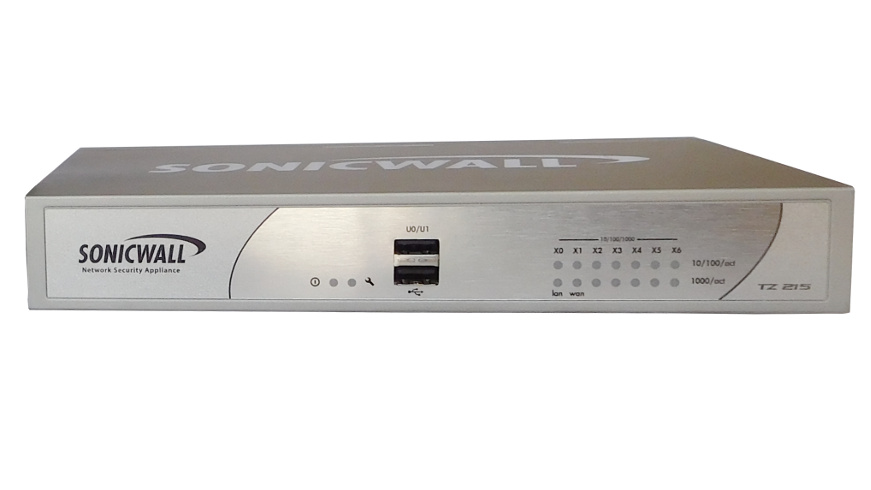
I have purchased a Netgear GS108Ev3 which is a “8-Port Gigabit Ethernet Smart Managed Plus Switch”, this will become the hub of my network. Previously the Sonicwall firewall was in the center.
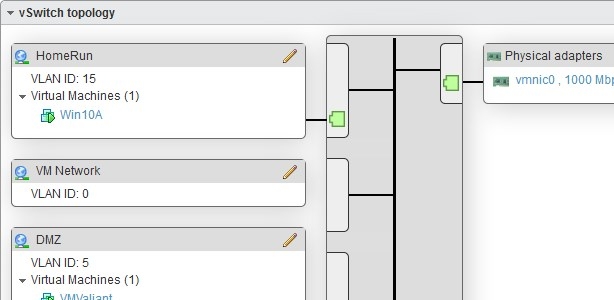
The MythTV virtual machine, running on the VMware ESXi host, has two virtual switches attached – “LAN” and “HDHomeRunX2“. Both of these virtual switches connect to the same physical network adapter on the ESXi host. The “LAN” switch connects directly to the LAN, but the “HDHomeRunX2” switch is tagged with VLAN ID 22. The intention is the HDHomeRun tuners will be on HDHomeRunX2/VLAN22. This setup is described in the post MythTV with HDHomeRuns on VLAN
The Sonicwall had already been configured to have a “zone” called “HDHomeRunX2” that was also running on VLAN ID 22. The Sonicwall was additionally configured to run a DHCP server on the interface of VLAN ID 22. Again this is described in the same post MythTV with HDHomeRuns on VLAN
I previously configured the Sonicwall to have a couple of its interfaces as port-based VLAN interfaces. However doing this with MythTV seemed to swamp the Sonicwall and I was keen to move the load to a dedicated switch. This is why I purchased a “managed switch” which was described as supporting “port-based VLANs”.
Technical implementation
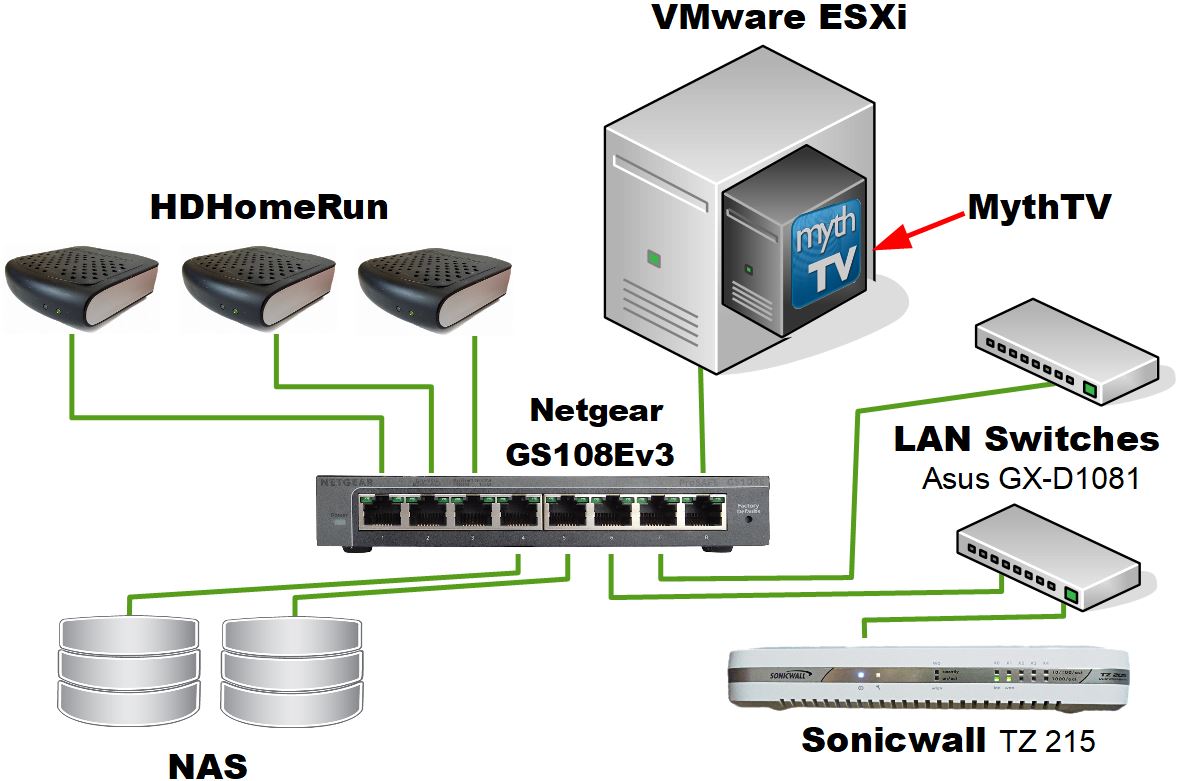
The intention is to create the network config as shown in the diagram below. The HDHomeRuns will connected to ports that are setup as port-based VLANs using VLAN ID 22. The remaining ports will act as standard LAN ports but traffic on VLAN ID 22 on these ports should make their way to the HDHomeRun ports.
The ESXi server will bring all the traffic from MythTV including the HDHomeRun tuner traffic which would be on VLAN ID 22.
The Sonicwall would connect to the Netgear switch via a standard Asus switch. This would allow the Sonicwall DHCP server running on VLAN ID 22 to reach the Netgear and from that the HDHomeRun tuners. This would mean the HDHomeRun tuners could acquire a DHCP address from the Sonicwall DHCP server.
The NAS boxes would be connected directly to the Netgear to improve performance and stability.
Configuring the managed switch
The following assumes you have just got the switch, logged in and given it a static IP but nothing else. Note the default IP for the switch is 192.168.0.239 and the default password is “password”.
Firstly select “VLAN” and then select the submenu “802.1Q”:
 Next click on “Advanced” and under that select “VLAN Configuration”

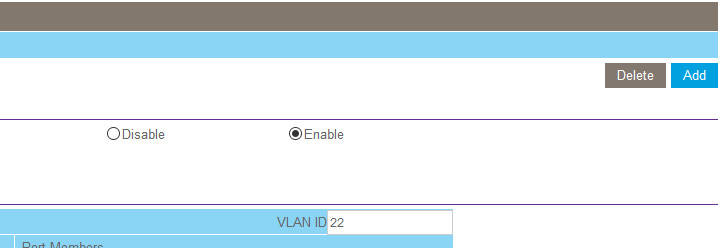
Now select “Enable” and put 22 in the “VLAN ID” field and click on “Add”:
Now select “VLAN Membership” from underneath Advanced. Next change the VLAN ID to 22 and set ports 1, 2 and 3 to Untagged and ports 4, 5, 6, 7 and 8 to Tagged and click “Apply”.
Setting “U” means it’s Untagged, “T” means it is Tagged, with respect to VLAN tagging.
It should look like:
From the left hand menu, under “Advanced” select “Port PVID”. This is the mechanism to set the “Primary” VLAN ID for a given port. We need to set this to 22 for ports 1,2 and 3.
After selecting “Port PVID” tick the boxes for ports 1, 2 and 3 then enter 22 in the “PVID” field, Finally click “Apply”.

Go back to the “VLAN Membership” menu item and change the “VLAN ID” dropdown to “1” and then change the ports so ports 1, 2 and 3 are empty and ports 5, 6, 7 and 8 are set to “U” as below. You just keep clicking on the port icon and it will rotate between “Nothing”, “U” and “T”.
Once you have done that click on “Apply”

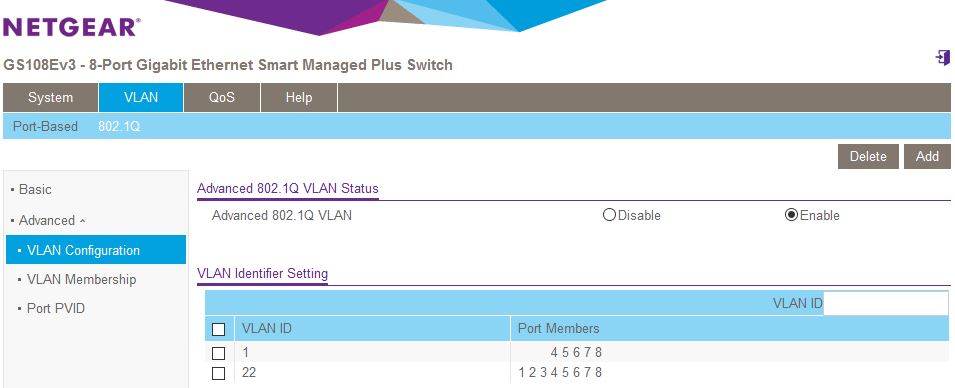
When you are done go back to “VLAN Configuration” and it should look like below if you got it right:
Disable IGMP Snooping
The default setting is for IGMP to snooping to be enabled. I was finding that with this set to enabled, over time, maybe a week or two, I would start to get weird problems with zero byte recording and it all pointed to DHCP not working over the VLAN to the MythTV VM.
I had done some reading and I tried disabling IGMP Snooping and it appeared to stop this and the switch remained stable for very long periods of time.
Select “System | Multicast” and set as below

All done




![[L] – WordPress UAM Locked Post](http://www.zoyinc.com/wp-content/uploads/2024/04/WordpressUAMLockedPost_Featured.jpg)


