This article assumes you have installed Oracle 11g as per article Clean install of Oracle 11g 64bit on Windows 7.
Note all images in this article can be expanded to full size by clicking on the image!
Steps
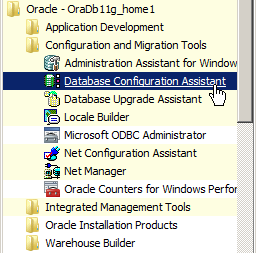
| 1. | Select “Database Configuration Assistant” from the Start menu under Oracle |
| 2. | On the “Welcome” page click on “Next” to continue |
| 3. | On the “Operations” page select “Create a Database” and click on “Next” to continue. |
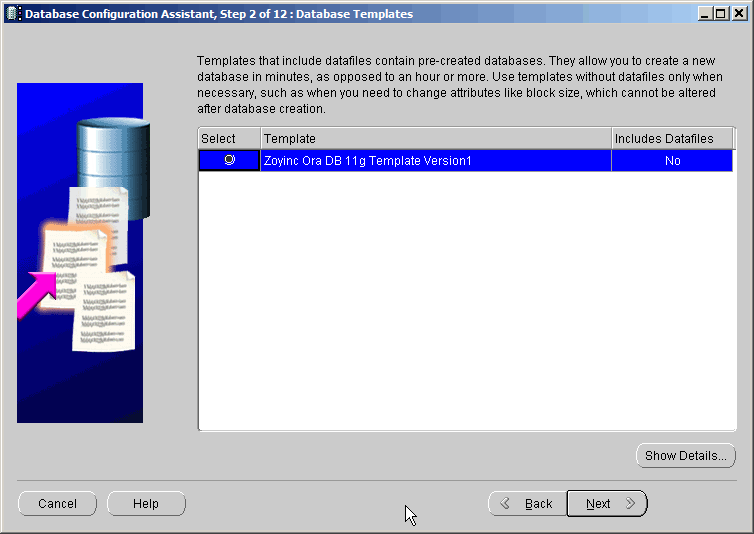
| 4. | Assuming you have followed instructions in the article Clean install of Oracle 11g 64bit on Windows 7 you should be presented with only one DB tempate “Zoyinc_Ora_DB_11g_Template…” select this: |
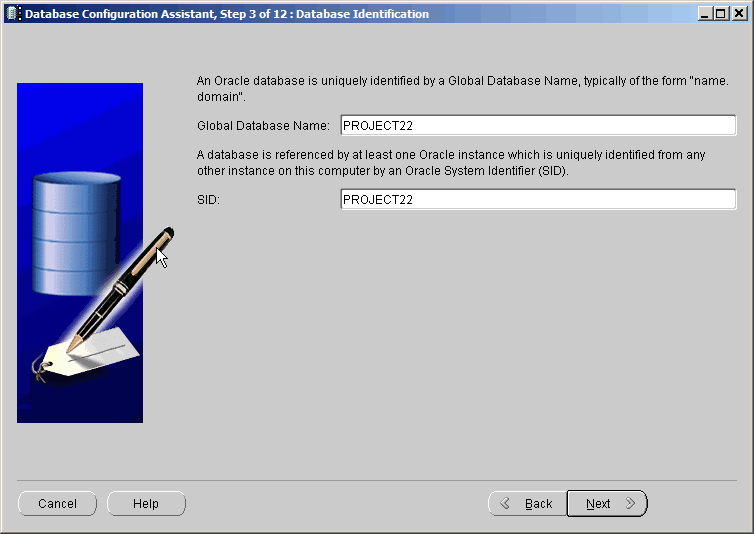
| 5. | On the “Database Identification” page you enter in the database name/SID. Ideally the “Global Database Name” and the “SID” will be the same. The maximum number of characters for the SID is 12 and must contain only alphabetical and numeric characters. In addition the SID is case sensitive. The convention is to use only uppercase characters.So bottom line, up to 12 characters, all uppercase, only alphabetical characters and numbers and keep the database name and SID the same. So for example:
Click on “Next” to continue. |
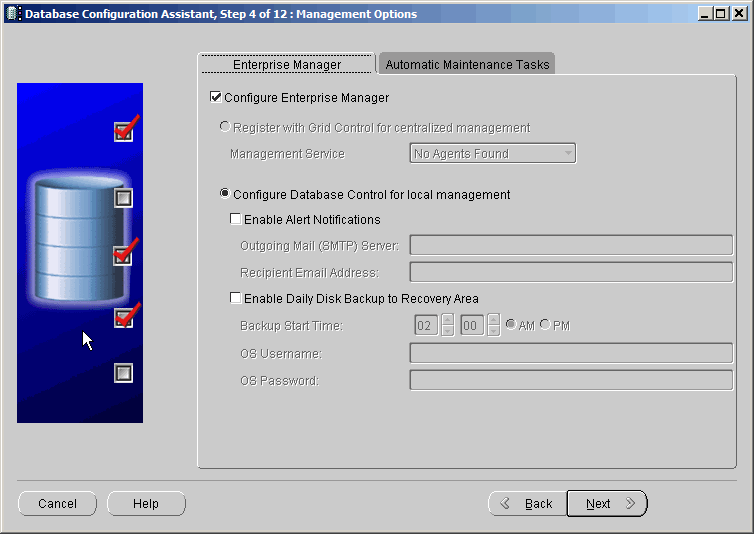
| 6. | On “Management Options” accept the default. Selecting “Configure Enterprise Manager” means that Oracle will install a small webserver to act as a management console for this database. There is a separate webserver instance for each DB. If you do not want or need this an intend using another tool to manage the DB you can deselect “Configure Enterprise Manager”.Prior to 11g you could also install the Java “Enterprise Management Console” which was a stand-along GUI application you could use to manage and access all databases. From 11g this is not supplied but if you have a copy of it then you can still use it. I would suggest going with the flow and getting used to the web version: |
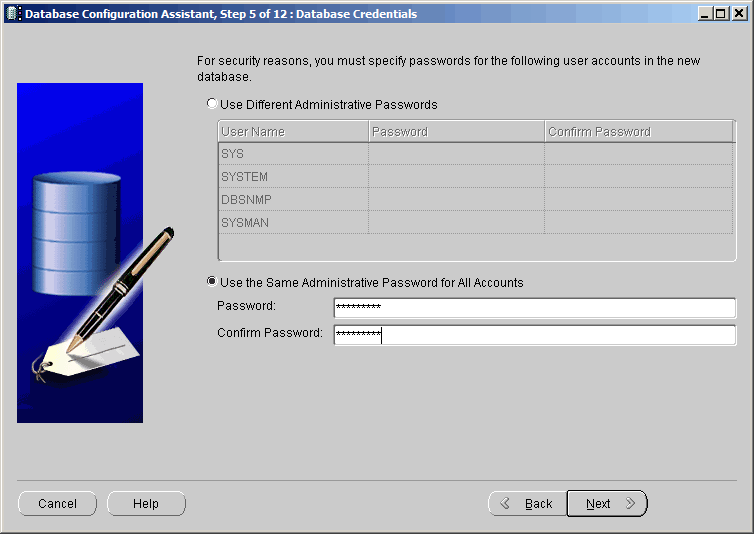
| 7. | On the “Database Credentials” you enter the DB passwords for SYS, SYSTEM, DBSNMP and SYSMAN. For a developer you would typically set the passwords for these 4 users/schema to be the same: |
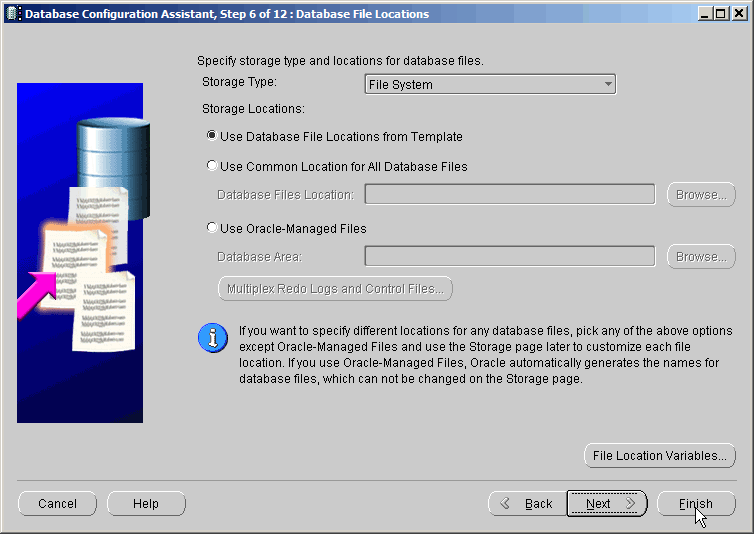
| 8. | Now that we have reached “Database File Locations” you can probably just click on “Finish” to skip the remaining configuration options. This is particularly true if you are using a database template you are comfortable with: |
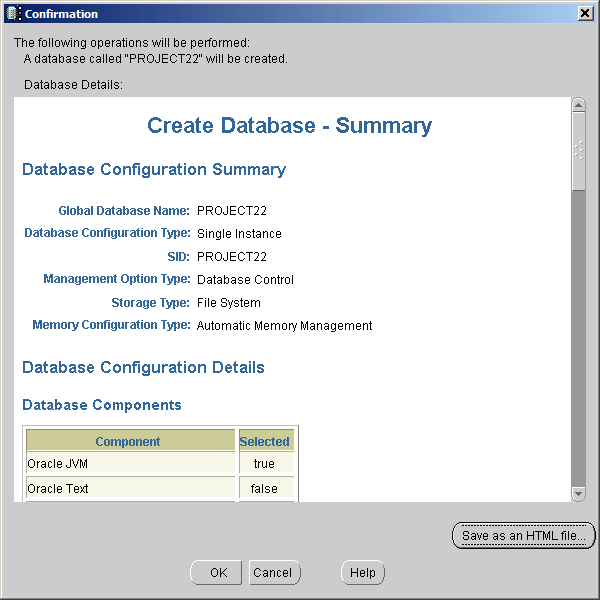
| 9. | You should now see a “Confirmation” dialog which allows you to scroll through the full configuration of the database you are about to create. This is your last chance to abort the creation of the DB: |
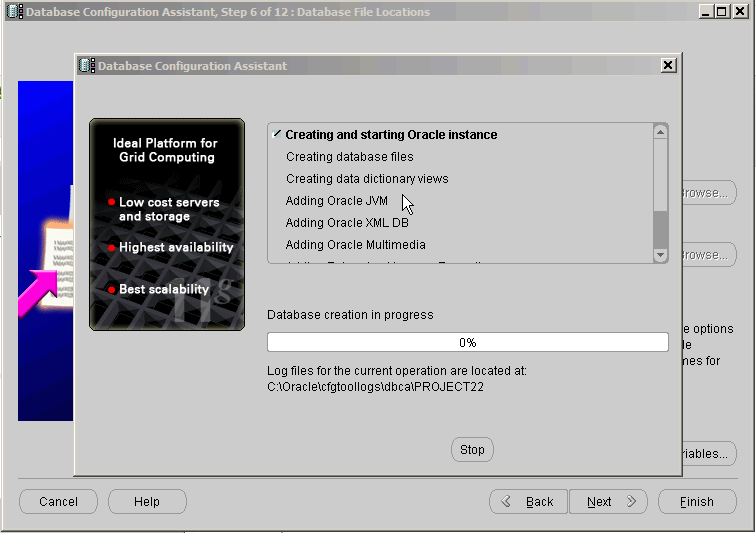
| 10. | Oracle will now start creating the databse: |
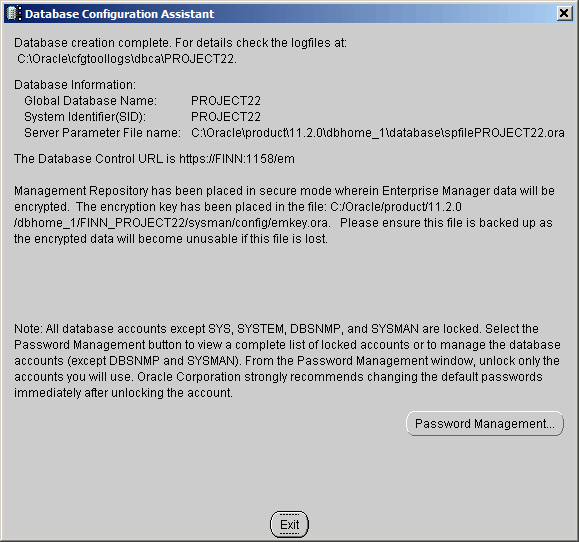
| 11. | When the DB has been created you get the following dialog: |
Now your database should been complete and accessible. However the old days of using Oracle Enterprise Manager Console to access it are gone. Now you use the web based management console which should now be running on your PC.
To access the web based console look in the start menu under Oracle:
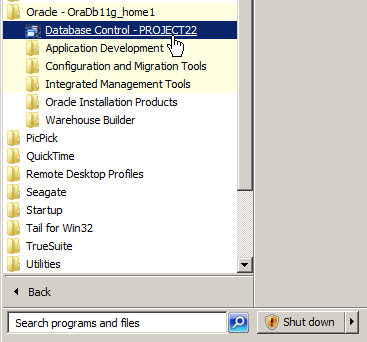 The highlighted shortcut is to the specific database you just created “PROJECT22”. If you create another DB on the same PC you will see a second shortcut created.



![[L] – WordPress UAM Locked Post](http://www.zoyinc.com/wp-content/uploads/2024/04/WordpressUAMLockedPost_Featured.jpg)
